Checking the position of the sunroof
Open and close the sliding sunroof. Check for unusual sounds and jamming.
Pour water on top of the closed hatch. Water must not enter the cabin.
Check the height difference between the roof panel and the sliding sunroof. The manhole must not lie deeper than 2 mm and must not protrude more than 1 mm. Otherwise, adjust the position of the sunroof.
Checking the ease of movement of the hatch by hand
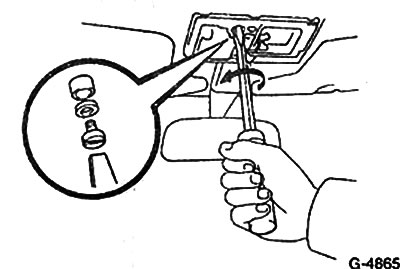
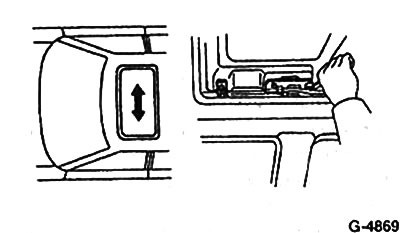
If the sunroof does not move well, remove the switch cover and remove the large screw.
Caution: Do not lose the washer and spring washer.
Insert a large screwdriver into the hole and check the drive shaft until the sunroof closes.
Sliding sunroof adjustment
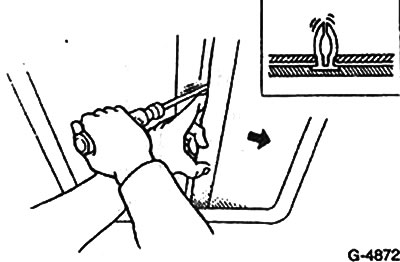
Open the sunroof halfway and remove the interior trim on the front of the sunroof. After that, move the upholstery back.
Attention: Before adjusting the position of the sunroof, install the upholstery back.
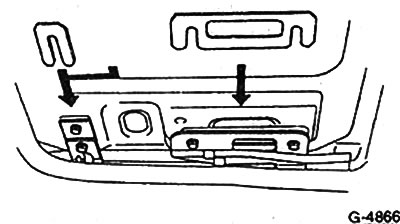
Adjust sunroof height. To do this, add or remove washers.
Attention: If the front edge of the hatch is too high even without washers, ensure that the front sliders touch the stops.
Adjust the position of the hatch in length. To do this, unscrew the hatch mounting screws and move the front slider.
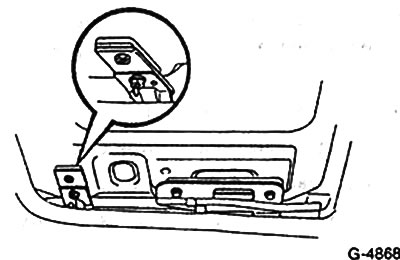
Attention: With the sunroof fully closed, the front sliders must touch the stops.
Adjust lateral position. Loosen the rear slider mounting screws and move the sunroof to the right and left.
Lateral position adjustment
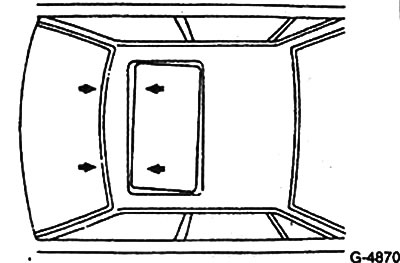
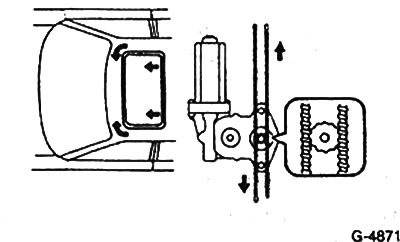
If the tilt of the sunroof is less than 2 mm, remove the rear slider mounting screws and carefully adjust the position of the sunroof. If the difference is more than 2 mm, remove the sunroof motor and move the cable in the direction where the sunroof distance is greater, see fig. G-4871. Install the motor.
